
If you follow me on Instagram, you know that one of my recent projects was making a very special cake for Thanksgiving. I thought that I would share the process and offer some tips learned.
While there may not seem to be a connection between cake and architecture, I hasten to remind the reader that in the Austrian royal court the pastry chef was seated closer to the King than the architect. Baking, especially desserts, is kind of a hybrid of chemistry and architecture.
The project was to make a cake shaped like a roast turkey. I served a prime rib for dinner, but felt that it wouldn’t be Thanksgiving without a turkey, so why not make a turkey dessert. The turkey cake project was born.
After watching about a half dozen videos on YouTube about making a turkey cake (There are lots of these videos), I decided on a specific method that fell within my particular skill set. Spoiler alert: no fondant!
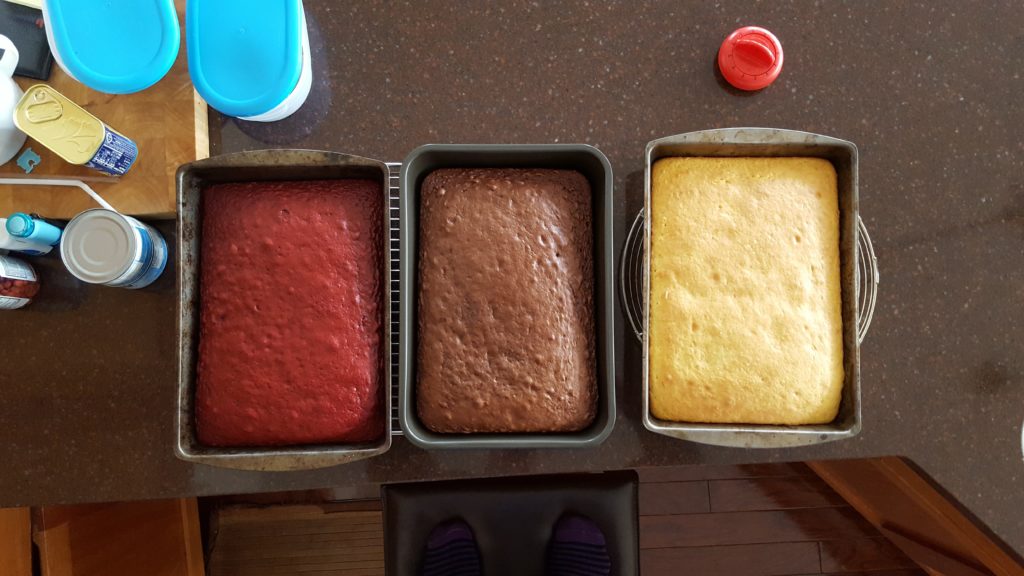
Step One: Make the cakes. I was lazy, so I used Duncan Hines cake mix. I used three different flavors, chocolate, red velvet (which is just chocolate), and a standard yellow cake.
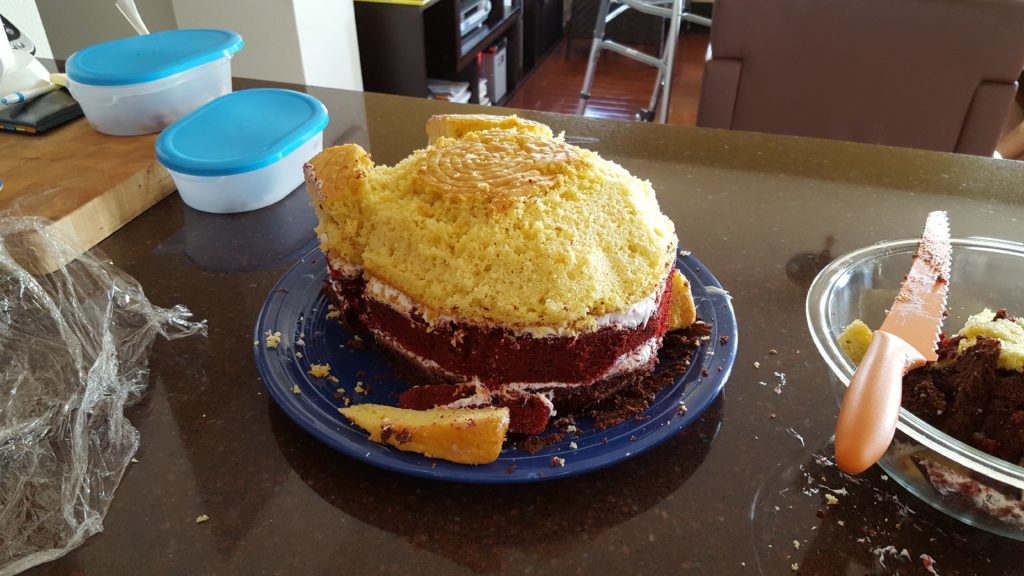
Step Two: Layer the cakes. I considered trimming the cakes so they were even and flat as I would normally do when making a layer cake. but since I actually wanted to have a bit of a curved top, I did not level the cakes.
Helpful hint: the containers of frosting you buy say they will frost a 9×13 cake. They lie! it will only frost the TOP of a 9×13 cake. So it was one tub of vanilla frosting in between each layer.
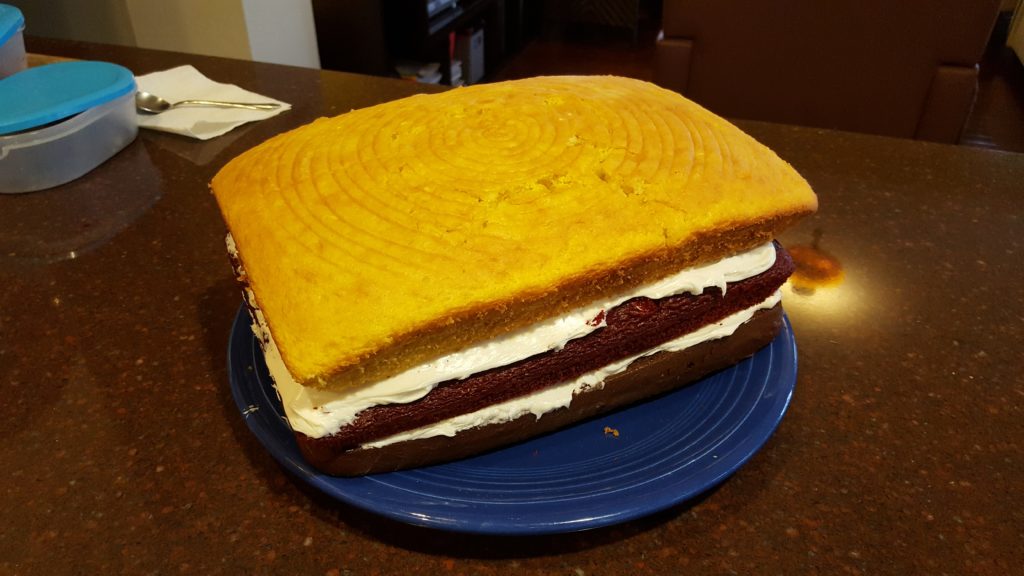
Baking and layering the cakes happened on Tuesday afternoon and evening. I have 3 9×13 cake pans (don’t ask!), So was able to bake these up pretty quickly. I let them cool on racks for 4 hours before I layered them. Note the cracks in the top layer. They will play an important role as our story develops.
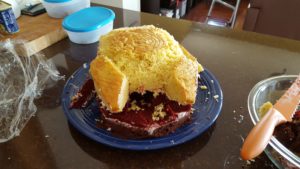
Step Three: sculpt the turkey. I used a serrated knife to carve the turkey. This was easier than I thought. I cut off the corners to start. Then I removed a portion between the “legs” leaving the bottom cake layer in place. This makes the area where your stuffing would come out of an actual bird.
 Helpful Hint: save the trimmings! Not only is it wasteful to trash them, but you will be using some of the pieces in just a minute.
Sculpting cake is not difficult, but it ain’t easy. The pro’s would have put the cake in the freezer to make the process easier. But my freezer was full of – you know – actual food. So freezing didn’t happen. Pro’s also wouldn’t be using cake from a box mix. But, it is what it is. I took my time and it turned out fairly well.
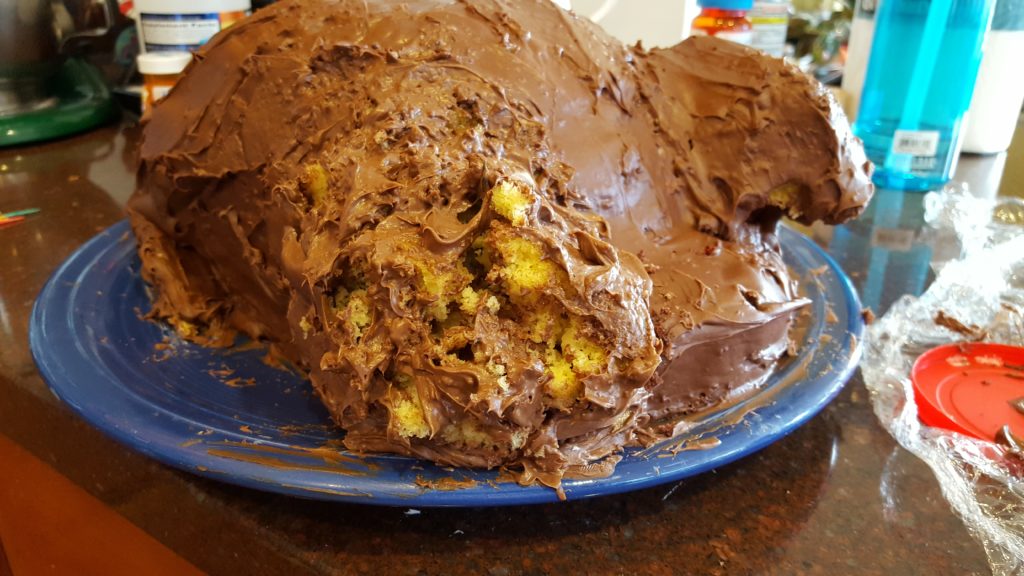
Step Four: create the wings. I used pieces of the cake that I had trimmed off at the very beginning to make the wings. You can see the start of this in the photo above. The photo below shows a closer look. Use frosting as glue, or as I like to think of it, thin set mortar, to keep the pieces in place.
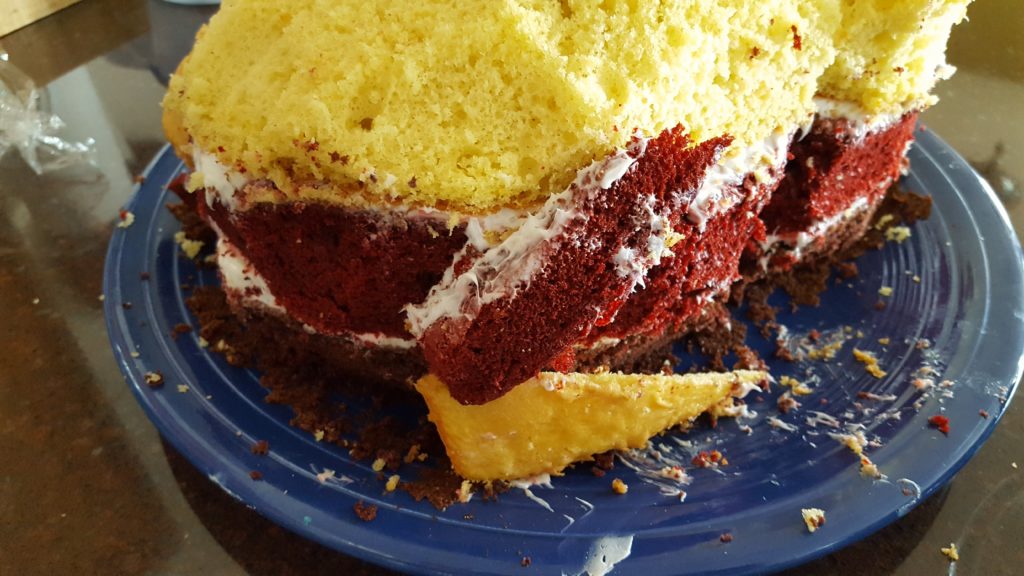
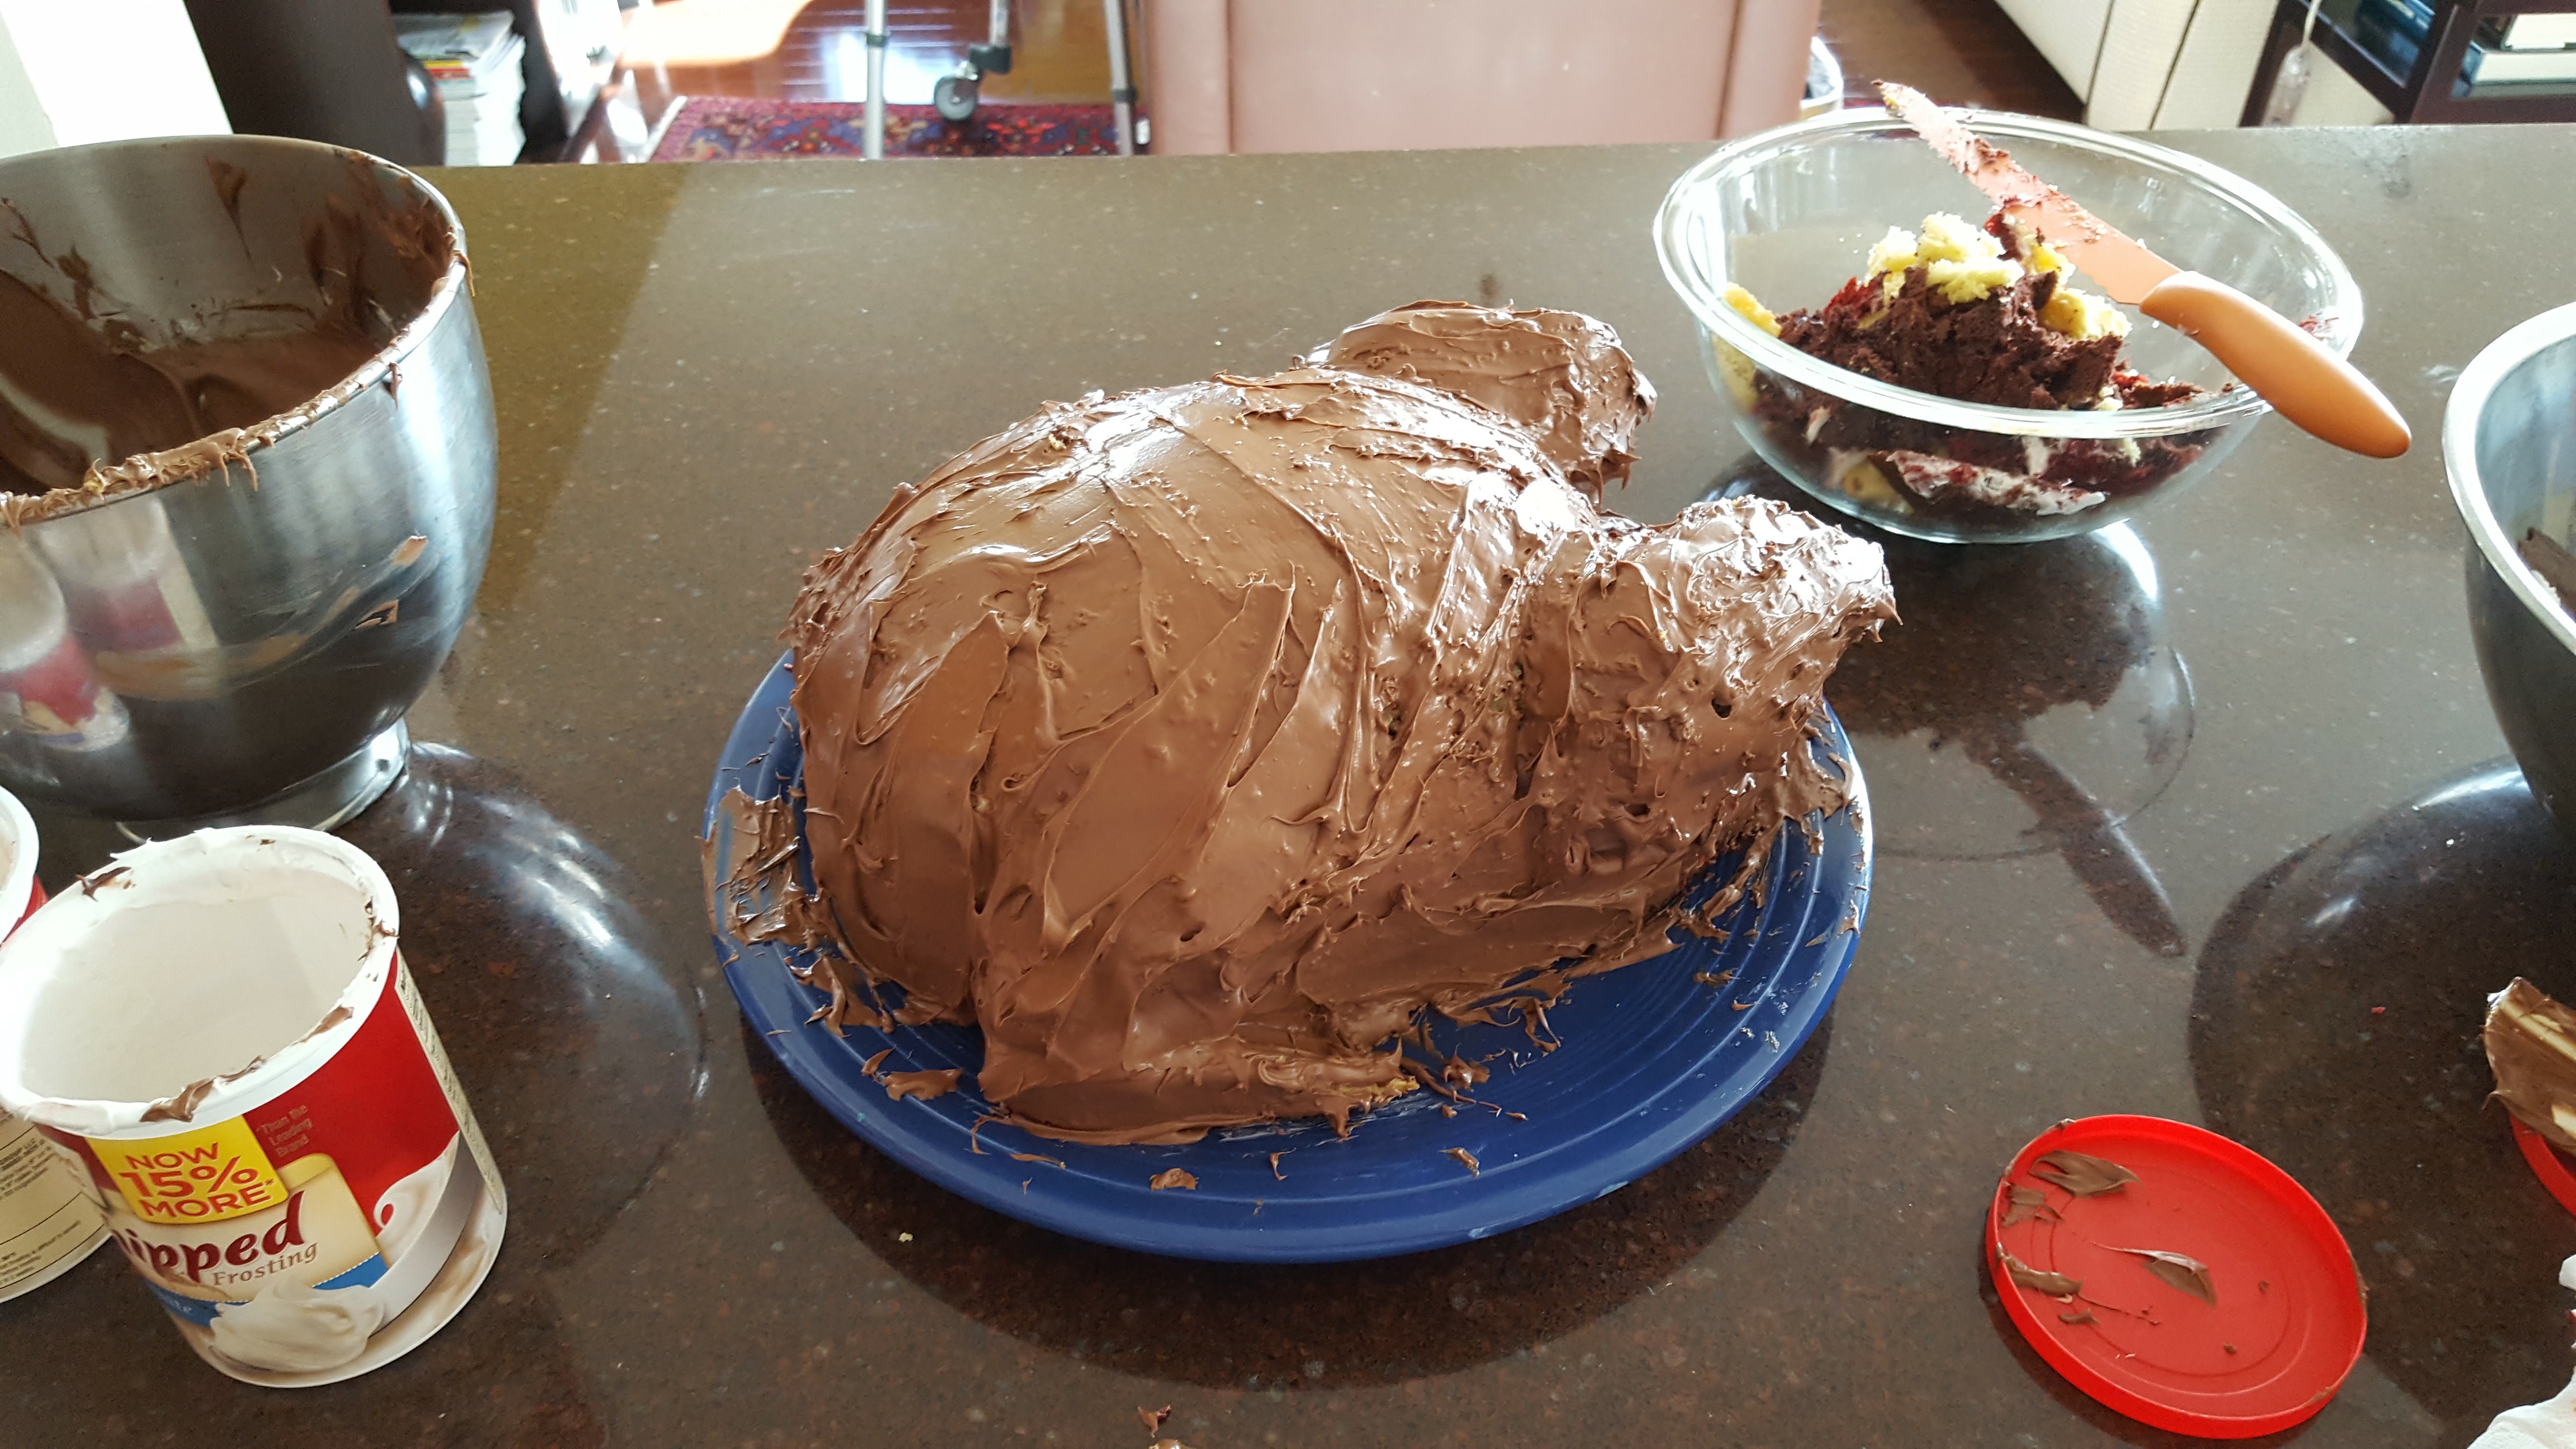
Step Five: frost the cake. This was, for me, the most nerve wracking phase. The cake was so crumbly that getting a neat frosting job was going to be – and was – difficult. I also had to do the finish sculpting in frosting to make the edges as crisp as I could make them to make the bird look convincing.
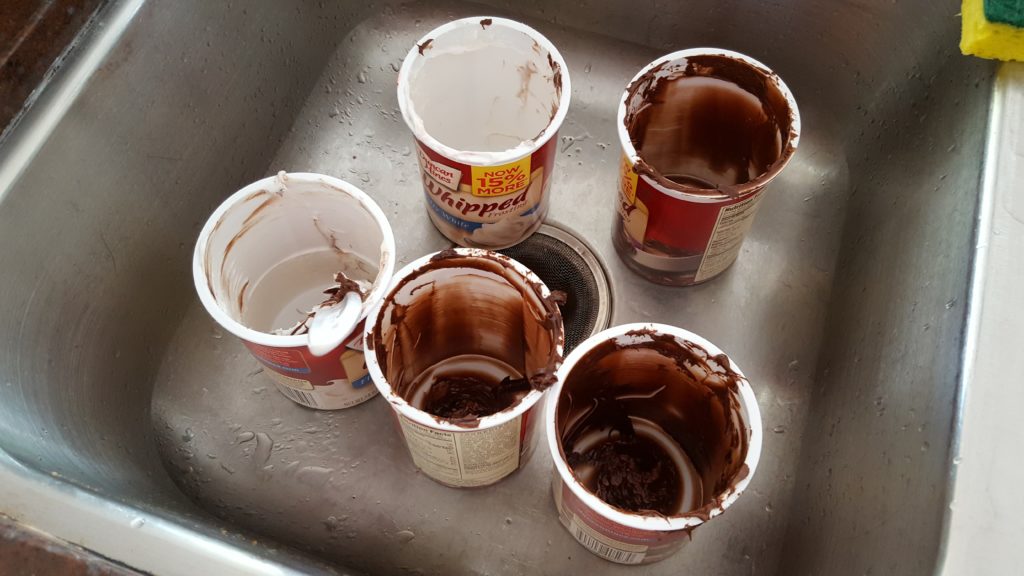
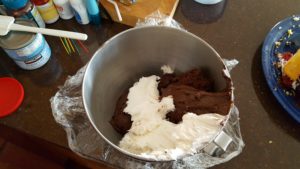
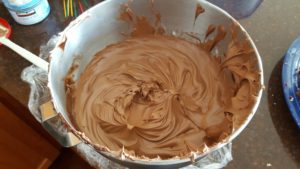 I started by blending three tubs of Duncan Hines chocolate frosting with one tub of vanilla frosting. Doing this gave the frosting a better color.

In a normal cooking blog, this would be where I follow up with a glamour shot of the bird surrounded by candles and holiday bunting. But, this is where our story takes a tragic turn.
Do you recall that crack in the surface of the yellow cake? That crack coincided with where I had carved the definition between the top of the bird and the top of the leg. The crack apparently went deeper than I could see. As I slept, one of the legs broke off Wednesday night, falling with a gentle plop onto the counter.
I failed to take a picture of the dismembered bird, so shocked was I by the sight. I attempted to paste the broken leg back on using frosting. That held for about 30 seconds. The leg just disintegrated.
I did the best I could to save the appearance. This area was more or less 50-50 cake and frosting by the time I gave up trying to make the leg look like a leg again. I pushed and shaped the mass of cake and frosting back together and refrosted it.
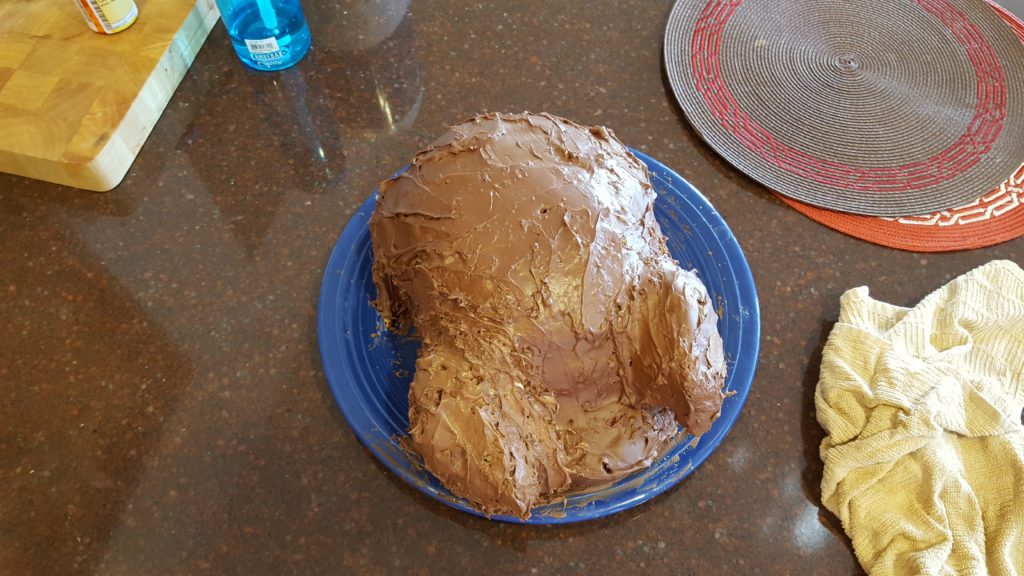
It ended up looking like a lame turkey. Or perhaps a jive turkey. But, when placed carefully, with the good leg facing the room, nobody noticed! Or perhaps they were polite enough not to mention that they noticed. During the Thanksgiving festivities, I was busy and failed to take pictures of the spread of food with the turkey in place. But here is my glamour shot of the the bird:
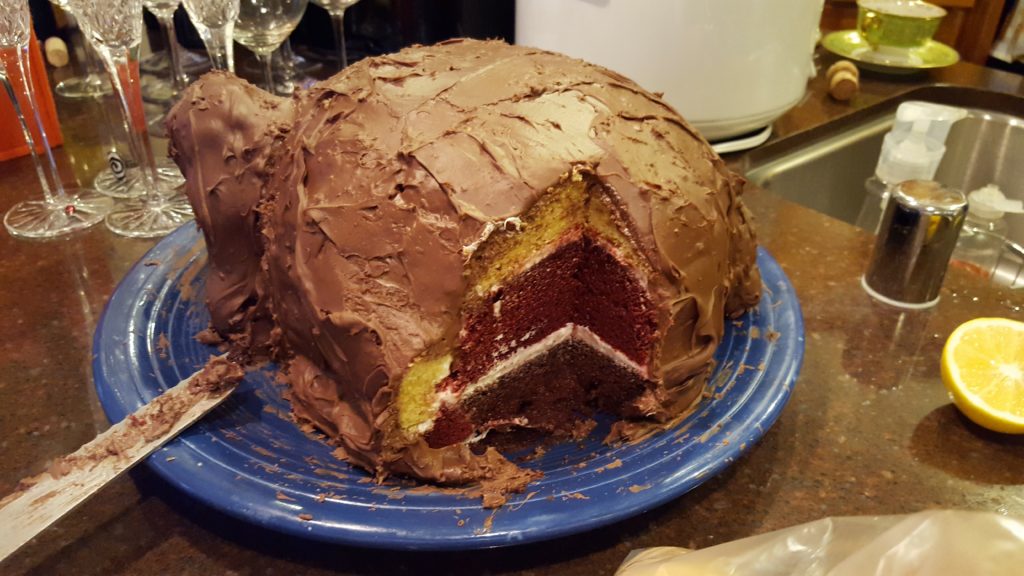
The cake was a qualified success. It looked like a roast turkey when viewed from the proper angle. It tasted good. And it gave everybody a good chuckle (which sounds like a good gobble).
Would I do it again? Sure. But I think I would not use boxed cake mix. The cake was too crumbly to carve effectively. The crumbly nature also contributed to the leg fail. Other than that, it was a fun project. My clients were happy with it. That’s what makes the architect – erm, baker – happiest of all!
Happy belated Thanksgiving!
